Introduction
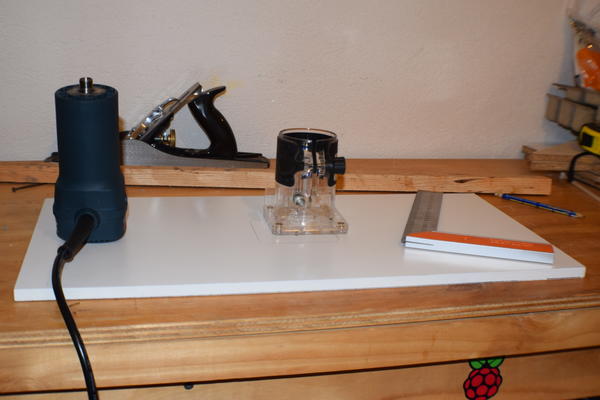
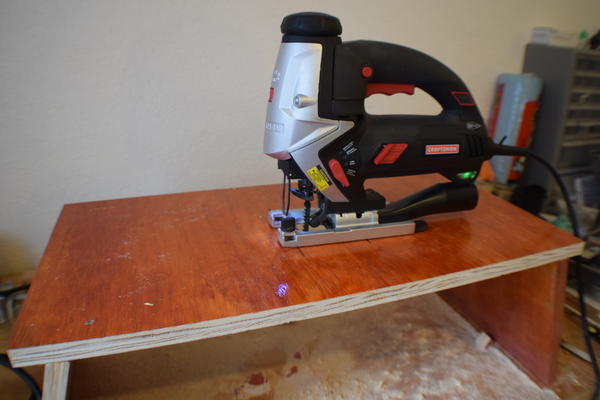
So, I got my new minirouter, a Bosch GKF 550, which is a 550 watts trim router, mainly designed to be used as a free hand device.
Nevertheless, I found it difficult to handle the router with precision for most of the tasks in which I used it.
That’s when the need of a router table was obvious to me. The thing is that router tables are expensive and it did not seem like a great idea to spend a lot of money in a table, for a rather cheap router.
Inspiration and Design
I started googling, looking for a trim router table. I found several videos. I picked the following one as the main source of inspiration: https://www.youtube.com/watch?v=HyUGlbj272Y from https://www.woodworkweb.com/
The router table principle is pretty straightforward. Basically, it’s a table high enough to attach firmly the router below it and let the router bit go over the table surface so that you can make your wood pieces pass through it, trimming the wood with precision and good control.
Construction process
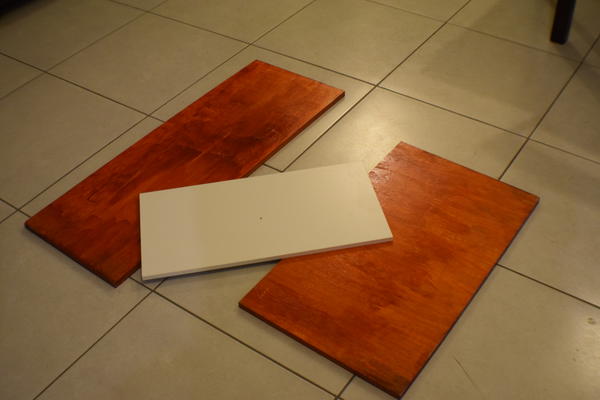
With a plan on mind, I went ahead and grabbed some plywood and mdf boards I had laying around
At this point we have to consider a certain level of required customization, since the shape and dimensions of my minirouter are different from those of the minirouter from the tutorial I watched in YouTube.
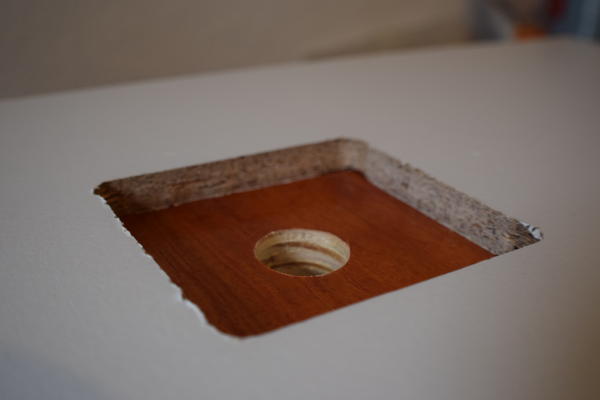
My minirouter has a plastic base which holds the main body of the router. This base has a square shape we want to hold firmly through the mdf table.
So I went ahead and made a square shaped hole.
At this point I had already created a nice plywood table whose legs are attached to it with hinges so that you can fold them and take the minirouter table around easily. I decided to have three hinges per leg, you know, for some nice additional extra strenght. The hinges thing is a nice feature, it also allows me to store the router table in a small space.
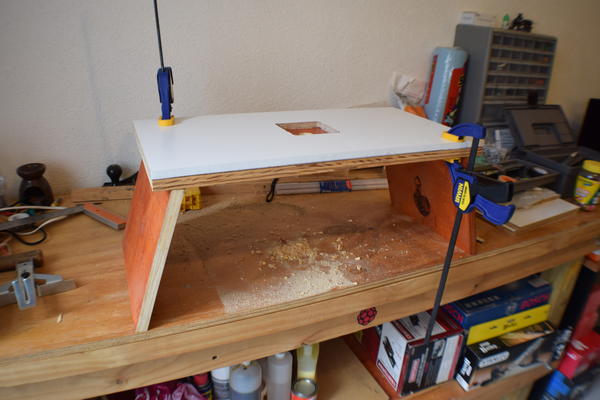
For these legs to stand steadily, I cut the plywood tables in a 15 degrees angle. You can see how nicely they support the table.
I think it was also a great decision not to attach the legs close to the edge of the table. This way you can hold the table comfortably, using both hands, while you move the router table around.
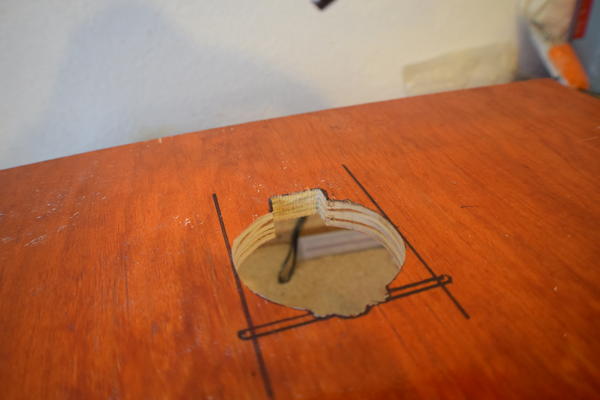
It was time to cut a hole in the plywood table.
This was more complicated than the straighforward square shaped hole in the mdf table since in this case I had to carefully cut the plywood progressively in order to get the right shape for my router base. It was basically a circle with a rectangle next to it.
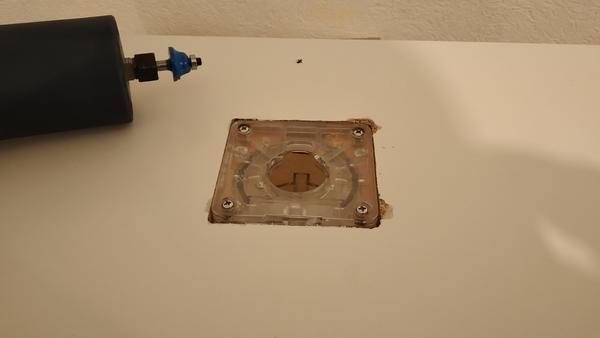
Ok, time to glue the mdf table on top of the plywood table and add some leveling screws.

Now it is possible to make the router plastic base sit on the plywood table perfectly leveled and let the mdf table keep the base in place. All I had to do to get a perfectly even surface was to use the level screws until I was totally satisfied with the result.
Mounting the router
Finally, we can mount the router into our new router table with the help of the plastic base.
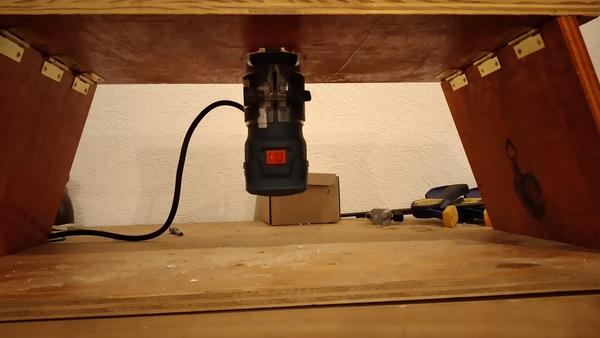
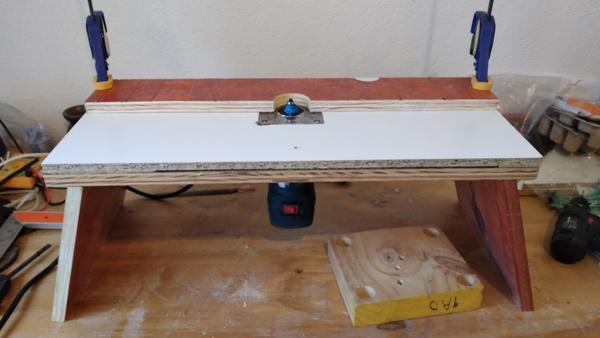
Final product
So here it is. A nice and simple router table. I’m very happy about how it came out at the end.
My favorite features in this router table are:
- Hinges for the legs: Make it so easy to store the router table in a small space.
- Leveling screws: Allow me to adjust the plastic base with precision, getting always a nice even surface to work with.
- Legs with inclination: Make the router table stand steadily.
